It’s the perfect season for a good DIY. Plus, what else am I going to do while Canada Post is on strike yet again….this is the second time in 10 months. I could rant, but that would be another blog post.
I bought a bunch of vintage maps this summer from Green Turtle Salvage with the idea of making envelopes.

easy peasy
First off, you should know I am not a crafty gal by any stretch, so if I can make these so can you. Papersource envelope templates make it extra easy, which is what I used. You can get similar ones at Michaels here in Canada.
use any paper you want
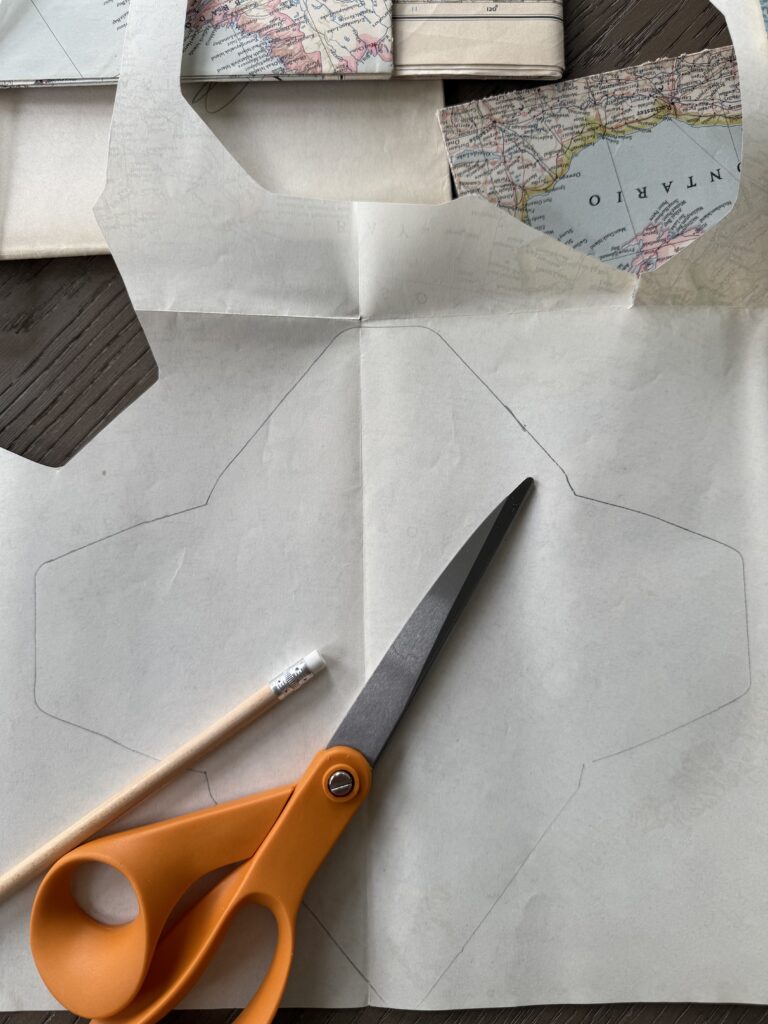
Basically, all you will need are a pair of scissors, glue stick, the templates (you can also deconstruct an envelope you’ve been sent to use as your template), labels, pencil and paper.
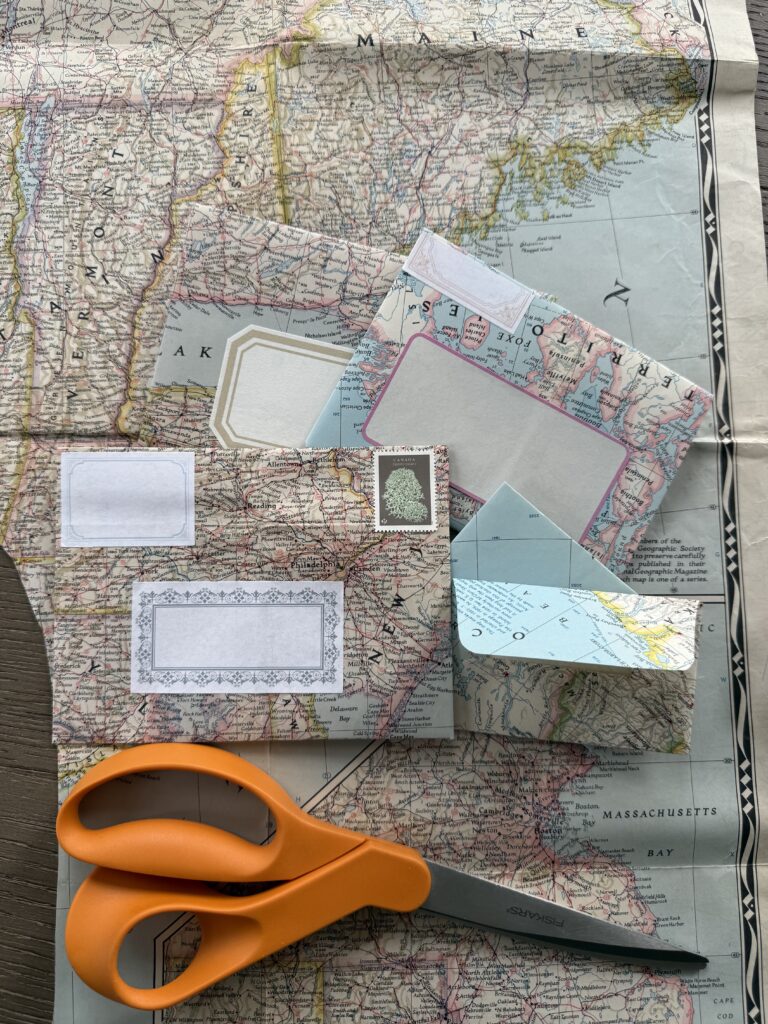
I chose to use maps but you could also use wrapping paper, newspaper (the comic section would be cool), any paper you have.
highlight a specific location for fun
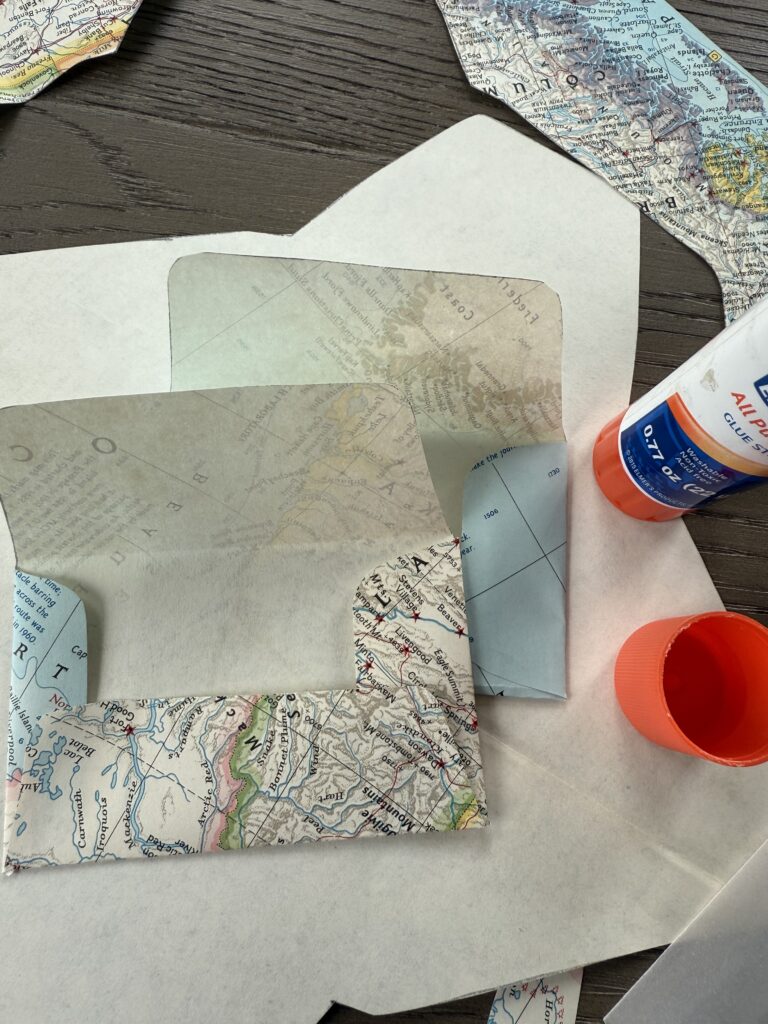
You can see from my photos, you slap down the template, trace the shape with your pencil, cut out, fold, and glue together.
I would suggest, should you want a specific location to feature on the front or back side of your envelope, that you consider where you put the template.
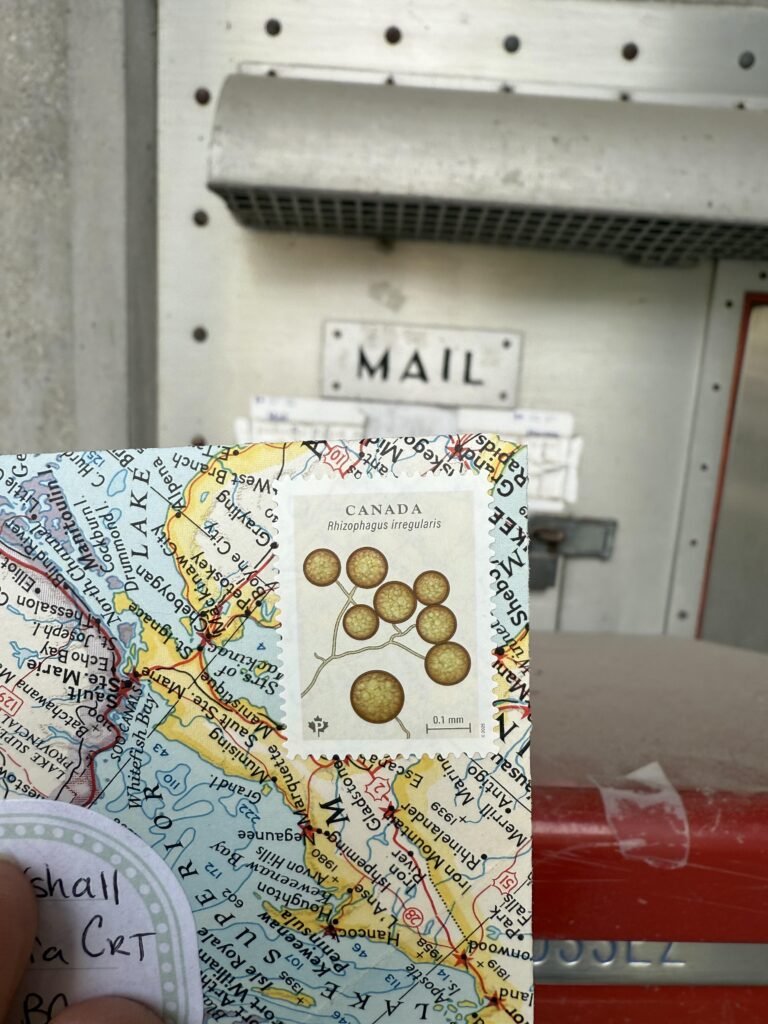
stick on a label
Last step is to put your address label on. This is a necessary step when using maps as you wouldn’t be able to see the address without it. Depending on the paper you are using, you may not need this.
The labels you see in the above photo are from both Paper Plus Cloth shop in Toronto as well as Utility House
To see what else I used the maps for, visit my instagram and look for the reel I posted on Aug 2nd.